Skip to content


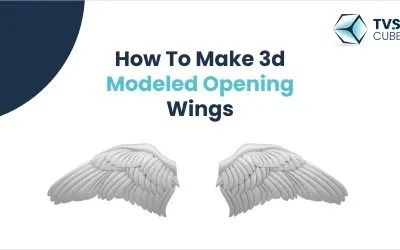
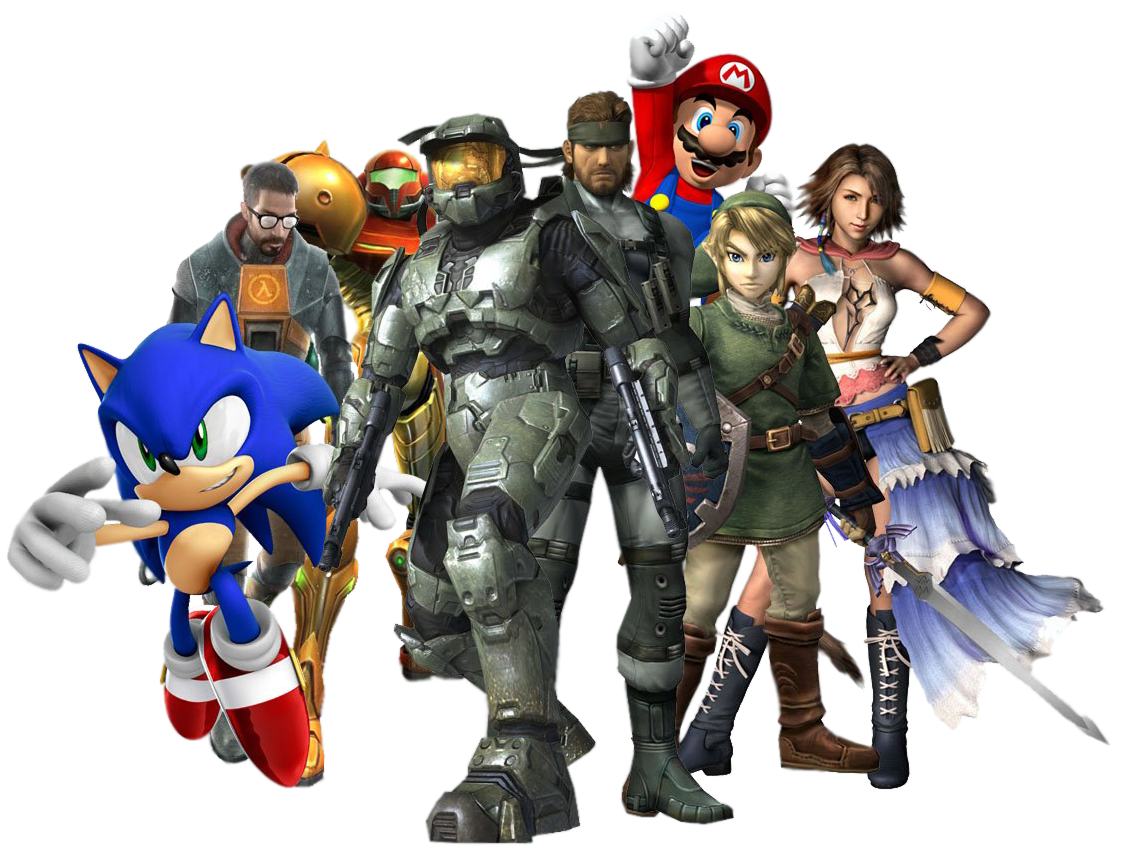
Whether for games, animation, or architectural visualization, making a 3D model of opening wings or modeling a 3D character can be an eye-capturing, mesmerizing, and rewarding project. TVS Cube not only provides the best 3D character modeling services or 3d character modeling services but also makes you understand and teach you how to make 3d character models, 3d character animation, or by using effective 3d rendering software available.
From the initial concept to the final animation, we will guide you, in this article, through the process of making a 3D model of opening wings by using valuable and reliable 3D modeling character software such as 3ds Max, Maya, or Blender and also cover the whole workflow includes 3D modeling, rigging, texturing, and animating the wings.
Planning and Conceptualization
It is always crucial to plan and conceptualize the 3d model of an eagle’s wings or any wings you want to create before initiating the process of 3D modeling:
- Purpose of 3D modeling: Define the objective and purpose behind making 3D modeling of opening wings whether the wing is for an eagle 3d model or any other 3d character model. TVS Cube 3d character design services offer 3D character animation services and solutions for 3d character models but your intent for making a 3d character model is our preference and your purpose will affect the level of detail and functionality needed.
- Collect References: Gather images and sketches’ references of the 3d model of eagle’s wings or other you want to model. Analyze all angles, different details, and any specific features.
- Sketch 3D Modeling Design: Make wings’ rough sketches which may include their open and closed positions. These sketches assist you in visualizing the design and comprehending how the wings will transition between these states.
Modeling the Wings
Create the Base Mesh: Start the design of 3D modeling by making the base mesh of the wings. For example, you can use, in a blender, the default cube or plane and start shaping it to match the wings’ basic structure.
Using a Plane
- Add a Plane: Begin with a flat plane which will be your wing’s initial shape.
- Extrusion tools: To shape the plane into the basic form of a wing use extrusion tools with adding edges and vertices as required to match the reference images.
Using a Cube
- Add a Cube: For more complicated wings, begin with a cube.
- Mold the Cube: To mold the cube into the wings’ basic shape, use the scaling and extrusion tools.
Add Details to 3D Modeling of Wings
After getting the basic shape for the 3d character model, add details to the wings:
- Add Edges and Loop Cuts: To describe sections of the feather and other details, introduce edge loops.
- Sculpting Tools: To add intricate details and refine the shape like ridges or feathers, use tools of sculpting.
Symmetry and Refinement:
If the wings are symmetrical:
- Apply Mirroring: Use mirroring to automatically update the other side of the wing by working on only one side.
- Refine: To ensure the wing looks realistic, and smooth and adjust the shape of your wing.
Rigging the Wings:
The process of adding a skeleton to the model so that it can be animated. This involves making bones for opening wings, allowing the wings to move.
Add Armature (Skeleton)
- Add an Armature: Add an armature object to your scene in a blender and it will be your wings’ skeleton.
- Bones Positioning: Position bones at the wings’ base and along the length where you want the joints.
Parent the Model
- Create Vertex Groups: Assign vertex groups in edit mode corresponding to each bone to manage which parts of the mesh move with which bone.
- Parenting: Parent the wing mesh to the armature with automated weights or manually set weights to each bone.
Rig Testing
To check and test how the wings deform or act, move the bones accordingly. To ensure natural and seamless movement, adjust weights and bone placement as needed.
Texturing
The methodology of texturing adds realism to the wings by offering details of surfaces like textures, color, and patterns.
UV Mapping
- UVs Unwrapping: Use the tools of UV mapping in a blender to unwrap the model of the wing. It will help you to create a 2D representation of the 3D surface.
- Create UV Layout: To avoid stretching and distortion of texture, ensure that the UV layout is well-organized.
Apply Textures
- Find Textures: To find or create textures for skin, feathers, or other details, use the software of image editing.
- Adjust UV Mapping: Apply the textures to the model of your wing and adjust the UV mapping to fit, in Blender or other 3D software.
Set Up Materials
- Create Materials: Assign and create materials for various wings, parts such as joints, and feathers.
- Configure Properties: To get the expected look, configure materials properties such as bump mapping, glossiness, and transparency.
Animating the Wings
Animating the wings contains developing keyframes to define the movement and transitions of wings between open and closed positions.
Setup Animation
- Set Up Timeline: Create a timeline for your animation which includes the start and end frames.
- Keyframes: Move the wings’ bones to the expected positions and at these exact positions add keyframes.
Define Animation
- Pose the Wings: To create your expected movement, pose the wings in different positions.
- Spacing of Keyframes: To ensure smooth and natural motion, adjust the spacing and timing of the keyframes.
Refine Animation of 3D Modeling of Wings
- Check Motion: Play the animation and see how the wings move. To ensure realistic and fluid movement, make adjustments accordingly.
- Secondary Motion: To mimic the natural flutter or drag of the wings, consider adding secondary motion.
Rendering and Exporting
The time comes to export and render your 3D wings when you are satisfied with the 3D modeling, animation, and texturing.
Set Up Render
Render Settings: Set up the settings of your render which may include frame rate, resolution, and output format.
Lightning and Camera: Place lights and cameras for capturing animation and highlighting wings.
Render Animation
- Render Frames: To create a sequence of images or a video file, render each frame of the animation.
- Review Animation: To ensure consistency and quality, review the rendered animation.
Export Model
- Formats: Export the 3D modeling of your wing in the desired format for use in other engines or applications.
- Optimization: Ensure the exported model is optimized for compatibility and performance with your specific platform.
Troubleshooting Issues
Mesh Deformation: If the mesh deforms are incorrect:
- Weight Painting: Ensures that weights are perfectly assigned to the bones.
- Refine Rig:Adjust settings of rigs and placement of bone.
Texture Problems
- UV Mapping: Ensure that the UV map is perfectly aligned with the texture.
- Material Settings: Tweak the settings of the material to fix issues with appearance.
Animation Issues
- Keyframes: Review keyframes to ensure they are perfectly positioned and timed.
- Seamless Motion: Use settings of interpolation to smooth out shaky movements.
Conclusion
Creating 3D modeling of opening wings contains these steps, from initial planning and modeling to animation, texturing, and rigging. You can make realistic and functional wings for different apps by following the guide offered by TVS Cube.
Mastering these strategies will improve your skills in 3D modeling and develop your creative opportunities whether for an animation, game, or visualization project.
Don’t hesitate to visit TVS Cube and take your time to review and study each step by the assistance of our 3d character maker and 3d character design services you can produce an eagle 3d model or 3d model of an eagle’s wings or other that bring your vision into reality.