Skip to content


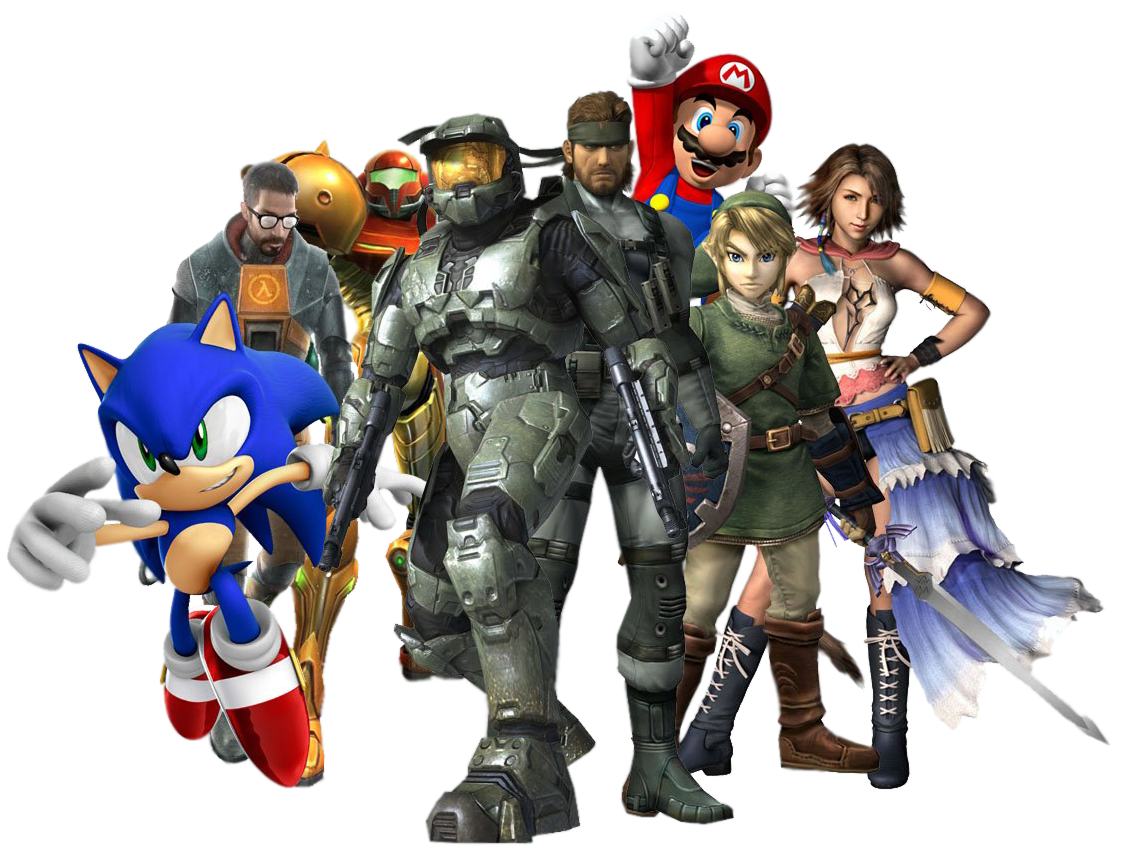
A multifaceted process of designing 3D characters that integrates technical skill, creativity, and a deep understanding of animation principles and character anatomy. TVS Cube 3d character design services involve comprehensive key steps from initial concept to final model whether you are willing to design your 3d character for animations, virtual reality, or games.
We will walk you through, in this guide, the crucial phases of designing 3D characters, providing tips and insights to help you acquire effective results.
Conceptualization
Conceptualization is an initial step in designing a 3D character which is crucial as well as lays the foundation for all subsequent work and that’s how it gets started:
Character’s Personality and Role
First of all understand the personality and purpose of 3D character design before designing a character. Define the background, role, and characteristics of 3D characters in the story whether they are heroic protagonist, a quirky sidekick, or a menacing villain. The understanding assists TVS Cube 3D character design services to get the choices of design from their appearance to clothing and other accessories.
Character Brief
Create a brand of character that summarizes key elements which should include name and age, physical attributes, personality traits, and background information of a 3D character.
Concept Art
Concept Art is a visual representation of the design of your 3D characters. To explore various poses, outfits, and expressions of 3D characters, must begin with rough sketches. Keep your focus on creating various designs to select what will be suits in the best manner to the role and personality of the 3D character. Use these rough sketches for modeling as reference material.
Modeling
The process of creating your character’s 3D mesh involves building the structure and shape of the character by using effective and best software.
Choose the Proper Software
The popular software for 3D characters modeling services includes Blender, Autodesk Maya, 3ds Max, and ZBrush.
Creating Base Mesh
Begin by building a base mesh that serves as your character’s foundational shape. The initial mesh should grasp the fundamental anatomy and proportions, focusing on getting shape before adding details. Pay attention to the body proportions and skeletal structure of a humanoid character.
Refine Model
Refine the model by adding such details as facial features, accessories, and clothing once the base mesh is created. Utilize several strategies such as extrusion, edge loop modeling, and subdivision to improve the mesh. Ensure that the anatomy of characters is functional and realistic particularly if they will be animated.
Sculpt Details
Use sculpting tools for intricate details such as textures, fine features, and wrinkles. ZBrush is especially effective for this stage allowing you to add high-resolution details that make the character appearance more realistic.
Texturing
It involves applying details to the surface of your 3D model with adding texture and color. Texturing adds depth and realism to your 3D character.
Unwrap the UVs
The process of mapping the surface of a 3D model to a 2D plane allowing you to perfectly apply textures. Use tools of UV mapping in your software to craft a UV map, serving as a guide for painting textures.
Create Textures
To the surface of the character, texture adds patterns, color, and details. Use efficient software for image editing such as Substance Painter or Adobe Photoshop to create texture maps which include diffuse maps, specular maps, normal maps, and bump maps.
Apply and Adjust
Make the required adjustments to the texture after applying it to the character. Check how textures look differently under various lighting conditions and ensure that they perfectly align with the UV map. As per requirement, adjust the material and shaders to achieve the look and feel you need.
Rigging
The process of creating your character’s skeleton, allowing your character to be animated involves setting up a series of joints and bones that control the movements of the character.
Build the Skeleton
Create a skeleton (rig) that matches the anatomy of the character. It generally includes bones for the limbs, head, torso, and any other part that helps to move. The rig must simulate the natural movement of the body of the character.
Skinning
Weight painting or skinning involves assigning parts of the mesh of the character to bones in the rig, determining how the mesh deforms when bones move. Use effective tools of weight painting to ensure realistic and smooth deformations.
Control Handles
For common actions like walking, or facial expressions, create control handles that make it easier for the character to animate. It allows the animator to manipulate and pose the character without interacting with the skeleton directly.
Animation
This phase brings life into your character, allowing you to move and perform different actions. Animation involves creating sequences of various movements and ensures that the actions of characters are natural and smooth.
Animation Rig
Your 3D character modeling services may require additional rigs or setups for detailed animations in addition to control handles.
Animate Character
Use the software of animation to create sequences of movement. Begin with keyframes to define crucial poses and then add in-between frames to create smooth transitions.
Test Animations
Refine and review the animations to ensure they look real and natural and meet the goals and the expected performance. Check if there is any issue, and test animations in various lighting conditions and scenarios.
Finalizing Rendering
The final stage involves preparing your 3D characters for integration or presentation into a big project.
Model Optimization
Assure that the model is fully optimized for performance. Reduce polygon count where required and check if there is any error that could affect rendering.
Lighting and Cameras
Set up cameras and lighting to showcase your 3D characters effectively. By using different lighting setups, experiment to highlight details.
Character Rendering
By using the best and proper software, render the final character. Choose proper and appropriate render settings to acquire high-quality results including adjusting resolution, anti-aliasing, and render passes.
Review
Make required adjustments in the final stage and export characters in the selected format for integration into your project.
Valuable Tips for 3D Design Character
- Study Anatomy: Understand the anatomy of humans and animals to create realistic 3D characters.
- Keep Iterating: Don’t avoid making useful changes and refine your work based on feedback.
- Focus on Expressions: Body language and facial expressions are important for the believability of the 3D character.
- Stay Updated: Remain updated regularly with industry advancements and trends in 3d character modeling services.
Conclusion
TVS Cube believes that designing 3D characters doesn’t require any lack of attention as it is a creative and dynamic process involving several stages. You can create realistic and compelling 3D characters for your project by following our guidance and applying best-proven practices.